lesson
Chef Sophia Roe Teaches Us How to Shuck an Oyster (and Help the Planet)

Photos by Makeda Sandford.
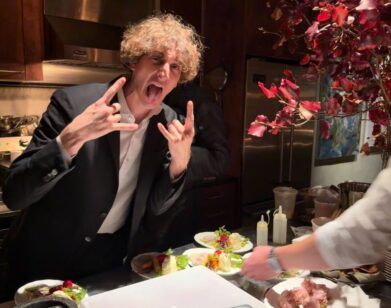
Sophia Roe learned to love food out of necessity. “I grew up knowing exactly what hunger feels like,” the 32-year-old chef, advocate, and now television host tells me. With her new VICE cooking show Counter Space, out today, she’s aiming not only to fill bellies, but also to educate her followers on the food chain supply and global food issues. Below, Roe offers a lesson in shucking oysters as a way to add a bit of joie de vivre to the Thanksgiving menu this year, and help the planet along the way. “The only way to help oysters is to eat oysters,” she says. “When you eat the oyster, you can actually make little baby oysters and put them in the shell, and then they’ll make more oysters. These oysters help filter the water. One oyster can filter up to three gallons of water. With the restaurant industry on the downslope, people aren’t eating them. So we have to eat them.”
———
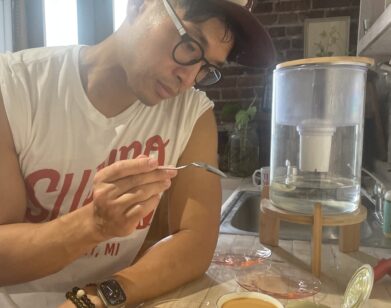
Tools: A clean kitchen towel, an oyster shucking knife*, and fresh oysters.
Note: All oysters have a flat side and a cupped side. Always shuck an oyster with the flat side facing up so that you don’t disturb the briny liquid that sits in the cupped side that makes oysters taste so yummy.
1. Place the towel on the oyster with the flat side of the oyster facing up. Then fold the towel over the rounded edge of the oyster and hold it in place with your non-dominant hand.
2. With your dominant hand, slice the tip of the shucking knife into the oyster’s hinge, which is the narrow point where the top and bottom shells meet. Finding this place is tricky. It’s usually the most narrow part of the oyster shell.
3. Remember, it’s not about just slicing the knife blade into the oyster shell. It’s more about twisting the shucking knife back and forth, sort of like how you would turn a key. Don’t be scared to apply some pressure so the knife moves in smoothly. That’s important. Once you have the blade in the oyster and feel like you’ve created some wiggle room and space, you can separate the flat side from the cupped side of the oyster.
4. Once the oyster is open, be sure to clean off your knife, and then cut the muscle that attaches the flat top of the shell to the actual oyster. This will enable you to easily remove the flat top of the shell completely.
5. To separate the actual oyster from the bottom cupped shell, scrape the knife under the oyster to make sure it’s fully separated. But be very careful when doing this, so you don’t disturb that yummy brine liquid.
6. Always transfer oysters to a bed of ice or some kind of very chilled holding place while you open up your remaining oysters.
7. Remember, don’t throw those shells away! They can be crushed for compost, collected, and even recycled by a local oyster shell collection program to be utilized for oyster farming, and/or rebuilding oyster reefs.
*Please don’t ever try to shuck oysters with a paring knife or chef knife. Oyster knives are less sharp but much thicker than traditional knives —and for good reason. Opening an oyster is more about applied pressure and less about needing a sharp knife.