lesson
Matty Matheson’s Guide to Literally Embracing Your Roots
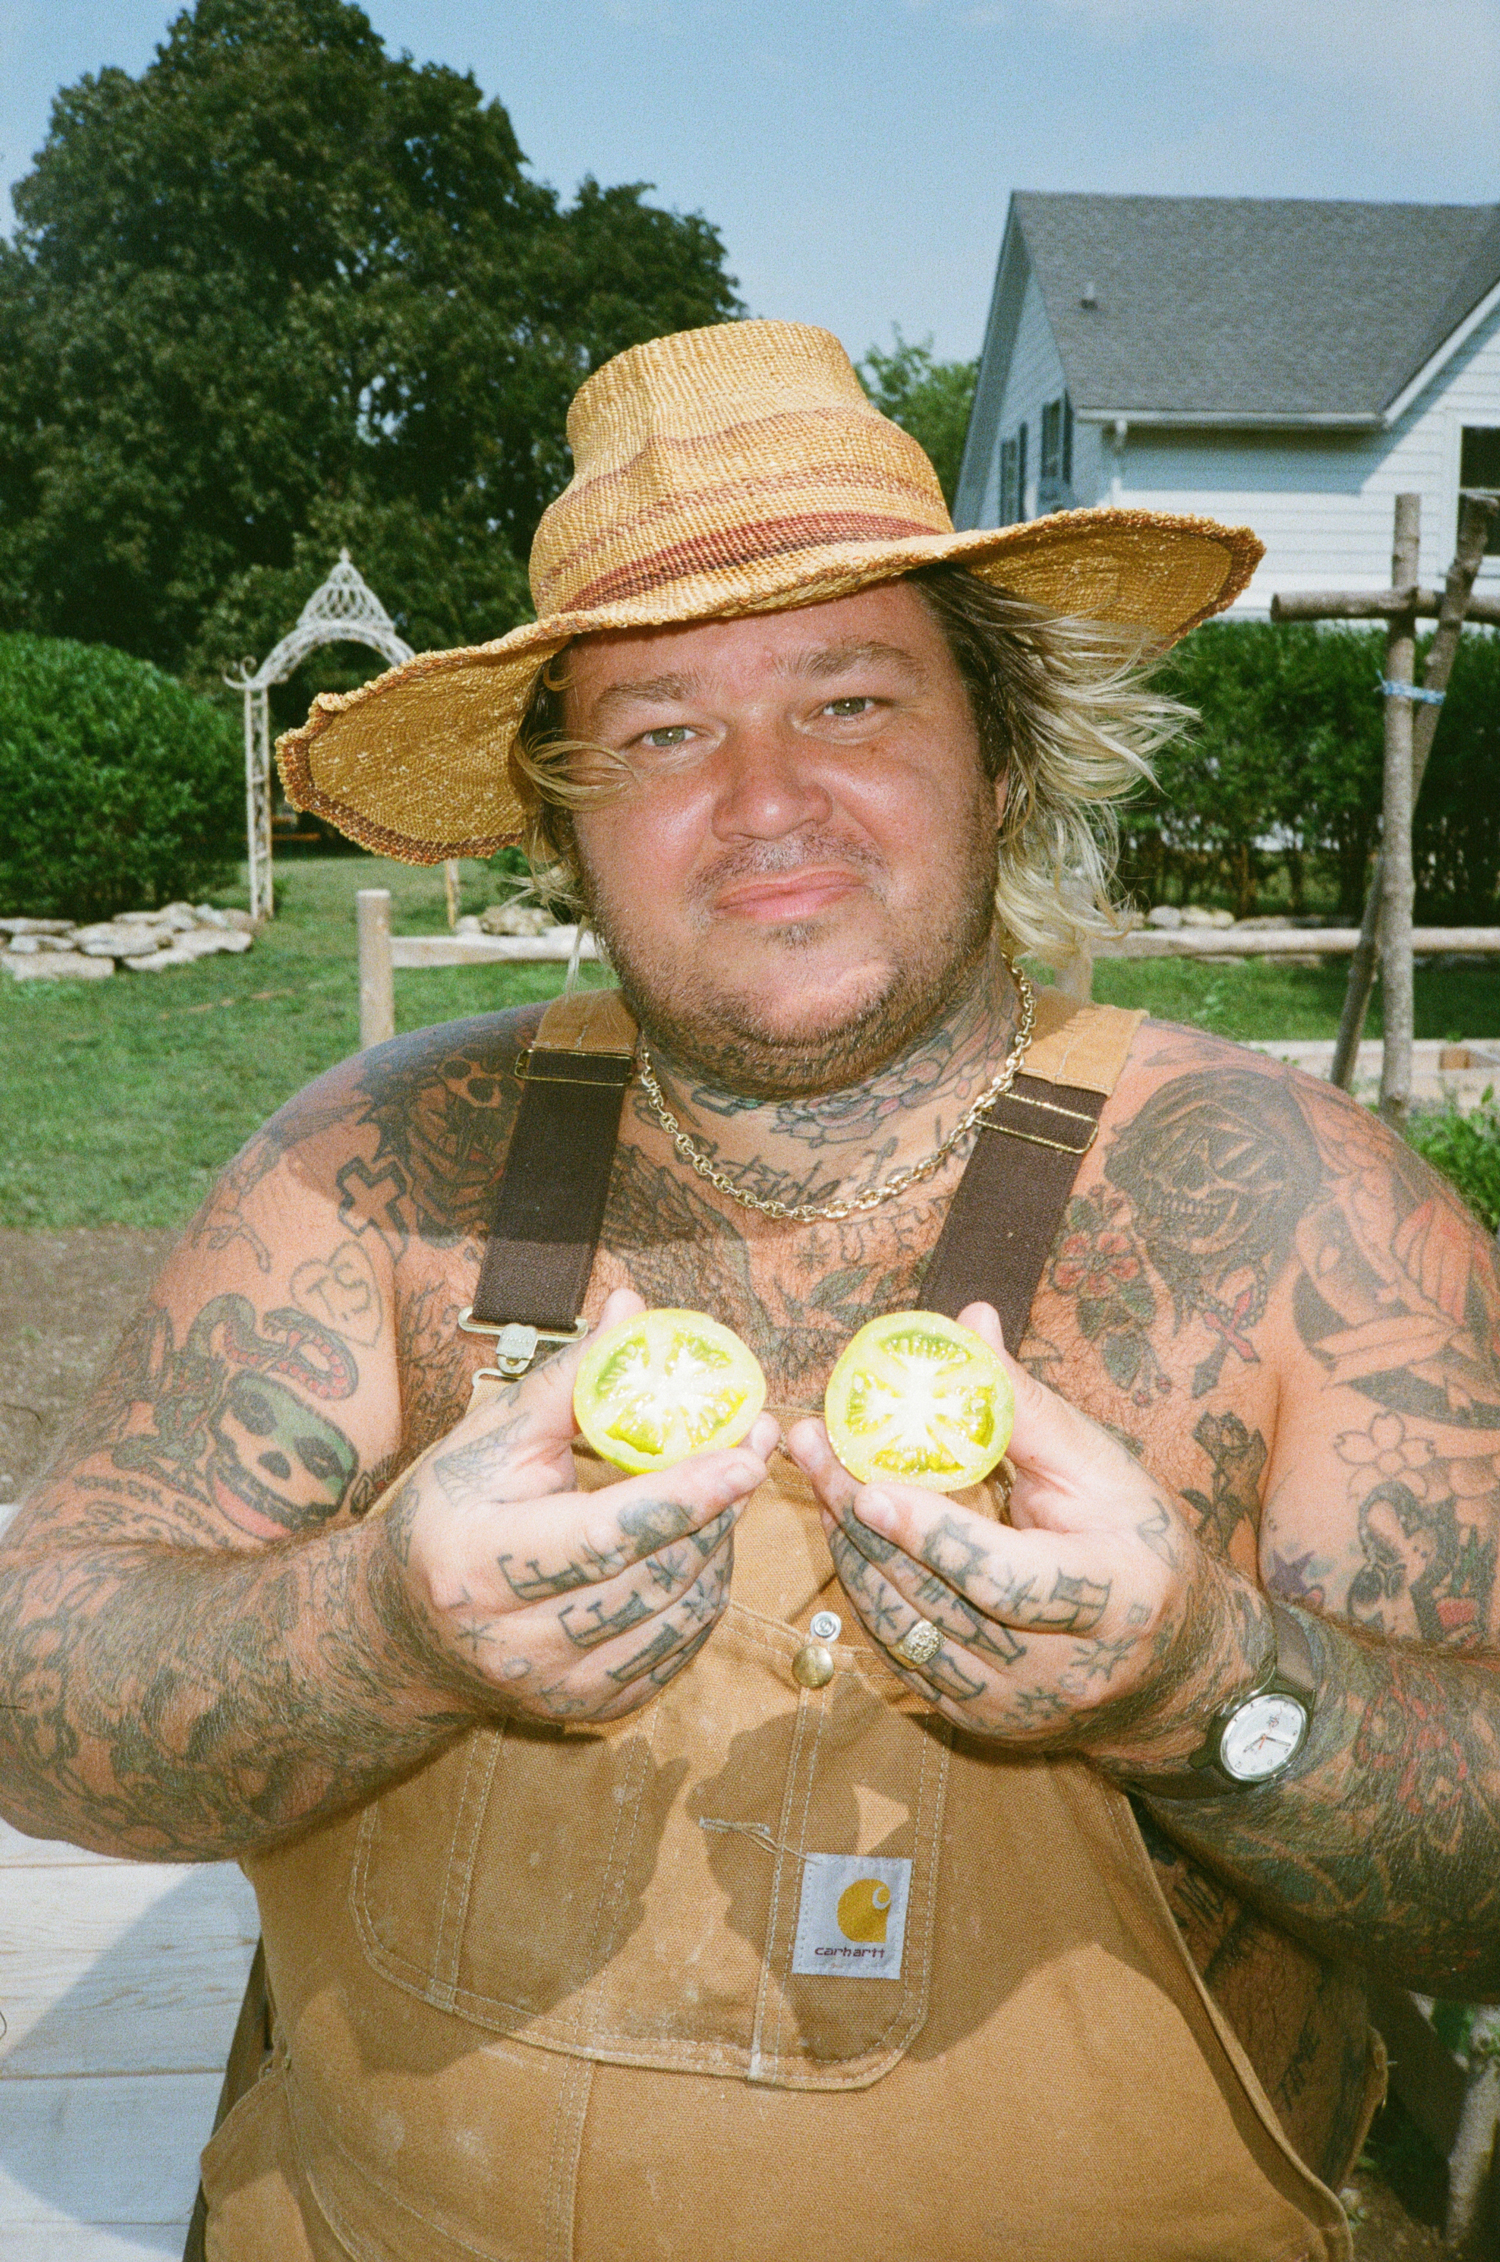
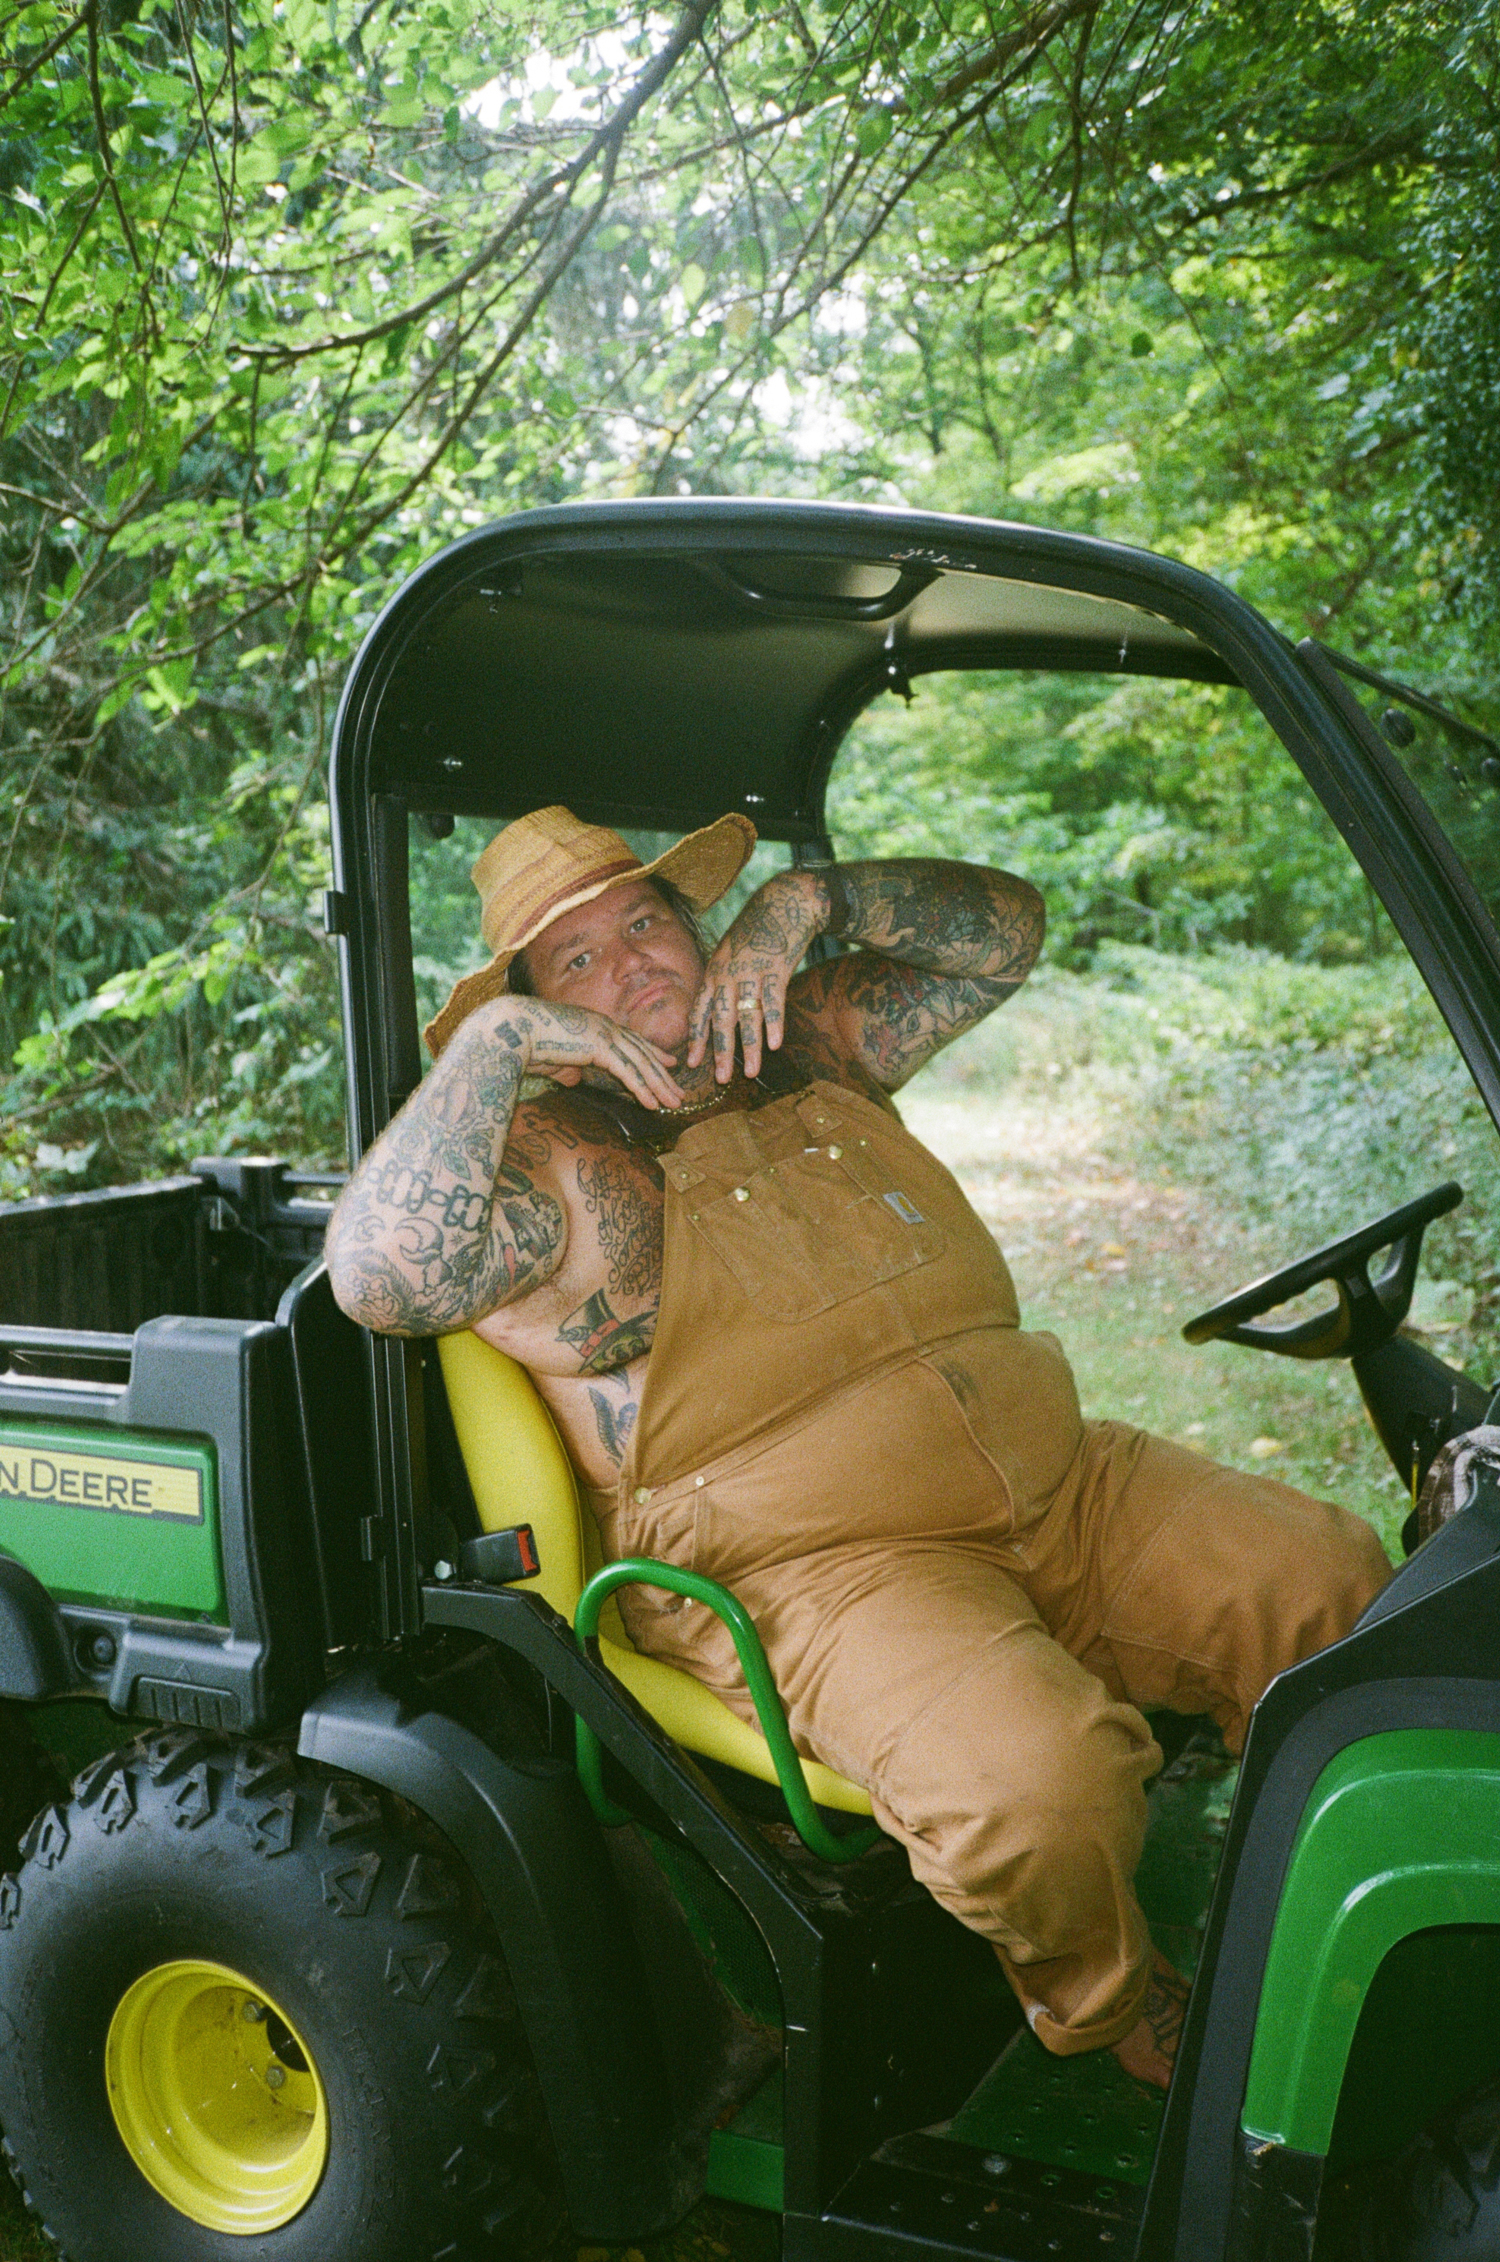
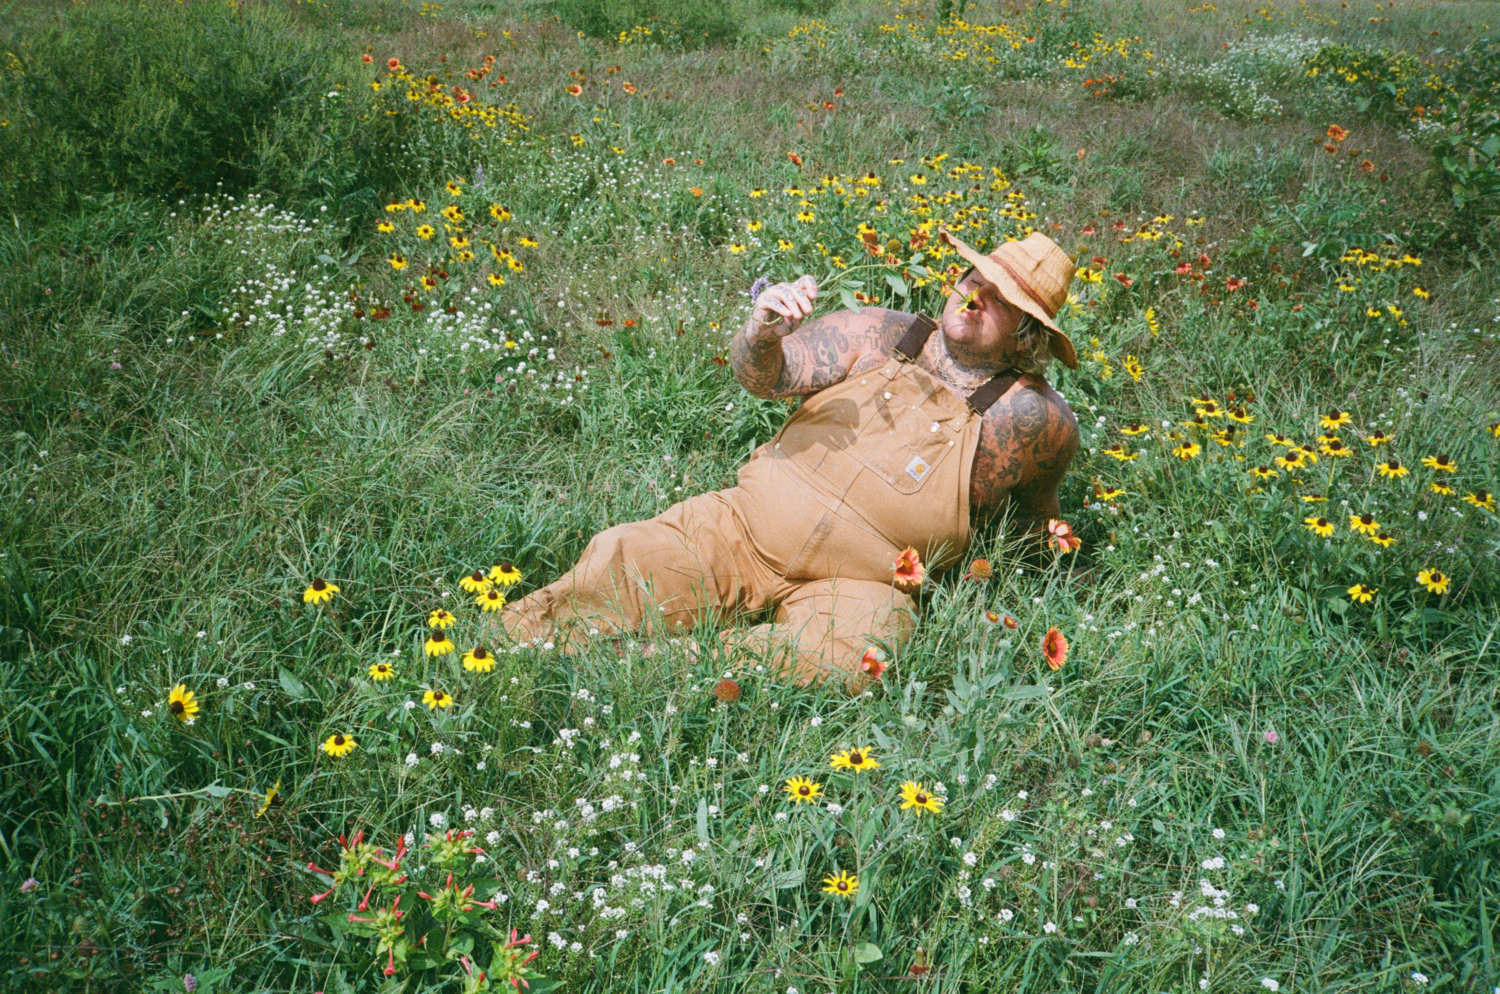
The Canadian chef, internet personality, and cookbook author Matty Matheson has turned his insatiable appetite into a career; as the host of shows like Vice’s Dead Set on Life and YouTube’s Just a Dash, among others, his hunger for food is matched only by his thirst for adventure. To mark the release of his latest book, Home Style Cookery, Matheson invited us to his farm in Fort Erie, Ontario, for a quick tutorial on the art of producing produce.
———
1. PICK A LOCATION
Choose a zone that will receive at least seven to nine hours of beautiful sunlight a day. Observe throughout the day and see where there may be some shady spots—that’s where your leafy greens go. Use the sunny parts for things like tomatoes and peppers, duh. This site should also be somewhere with easy access to water because your plants will need lots of it. Pick a spot with relatively flat ground to avoid water runoff. Having a nearby area for storage or refrigeration is critical to your success. Gardening is hard work, and minimizing the number of steps you take in a day can keep you in the game longer, which will only benefit your plants. So many stepppsss!
———
2. DESIGN YOUR PLOT
It’s best to start small. Don’t forget to make your garden comfortable to work in; you’re going to be there a lot more than you think. Giving yourself pathways wide enough to push a wheelbarrow through will keep you sane. Don’t make your growing beds too wide, either. Two-and-a-half feet is a fairly universal size for the width of a bed, because it allows most people to straddle it while planting, weeding, and harvesting. Even the big dog needs to bend over sometimes.
———
3. DECIDE WHAT TO GROW
Think about things you’ll enjoy eating, and research when certain crops like to grow. Every vegetable has its preferred period of growth, so make sure you’re planting them at the right time to increase your yield and quality. Every vegetable variety also has its own DTM (days to maturity). Make sure you know this so you have enough time after planting, but before the seasons change, for your crop to reach its full potential. Once you know these things, make a calendar to track when things should be going in and coming out.
———
4. BREAK GROUND
Now that you have a design and your seedlings are off to a good start, you’ll need to start shoveling to build your beds. Measure twice, shovel once. Use stakes and twine to mark where your beds and pathways will be to keep things straight and organized. Source the best organic compost you can, and don’t skimp on it. After incorporating some into your loosened soil, add at least another two inches on top to act as a mulch and a slow-release of fertility for the microbes in your soil.
———
5. PLANT AND PROTECT
Plant your first transplants and direct-seed your first crops. Give them fairly consistent water the first few days to help their roots get established. You’ll need to protect your babies when necessary: Insects love vegetables sometimes more than we do, and certain varieties get particularly ambushed, so be sure to cover them with insect mesh or even row cover if the temperatures are still cool. Keep a close eye on all your new plantings and replace ones that have been damaged by pests or just didn’t properly establish root systems. We’re almost there, I promise!
———
6. MAINTAIN, ROTATE, AND EAT
Keep on top of weeding and cleaning. Things can get out of hand very quickly, so stay on top of your harvesting and replanting. As soon as a crop looks ready and has hit its DTM mark, it’s time to harvest and plant something else. And finally, enjoy the literal fruits of your labor and don’t forget to share your bounty with others. Your loved ones will be pumped.
This article appears in the Fall 2020 issue of Interview Magazine. Subscribe here.
———
Photography Assistant: Raphael Sanchez


